How to make WordPress site go Live on Cloudusk
2 min read
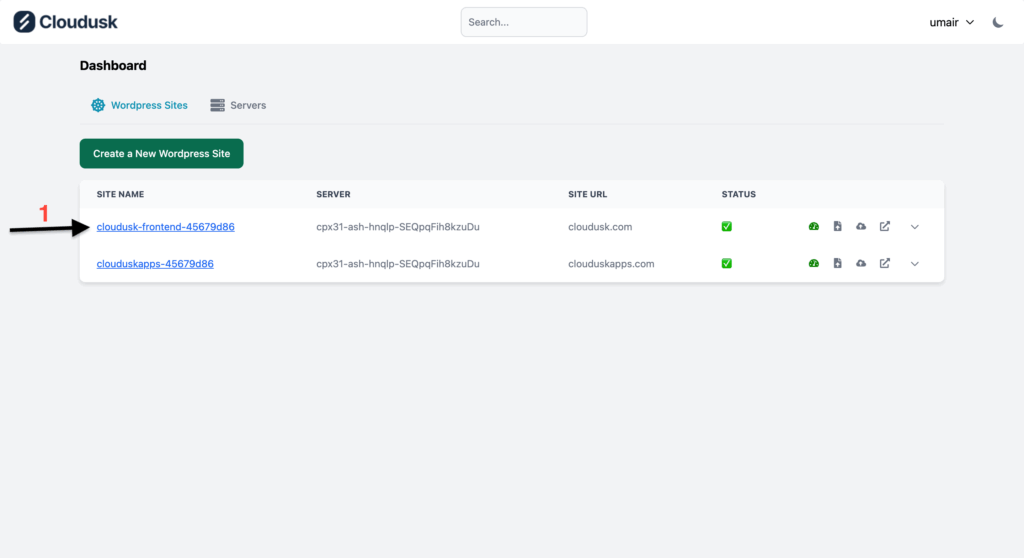
Once you are content with WordPress site’s theme, plugin, and other changes whether it is a new site or migrated from old host, here are the steps to make it go live. To make sure, the site is in the expected form, go to the Cloudusk’s dashboard page. Click on the button towards which arrow is pointed.

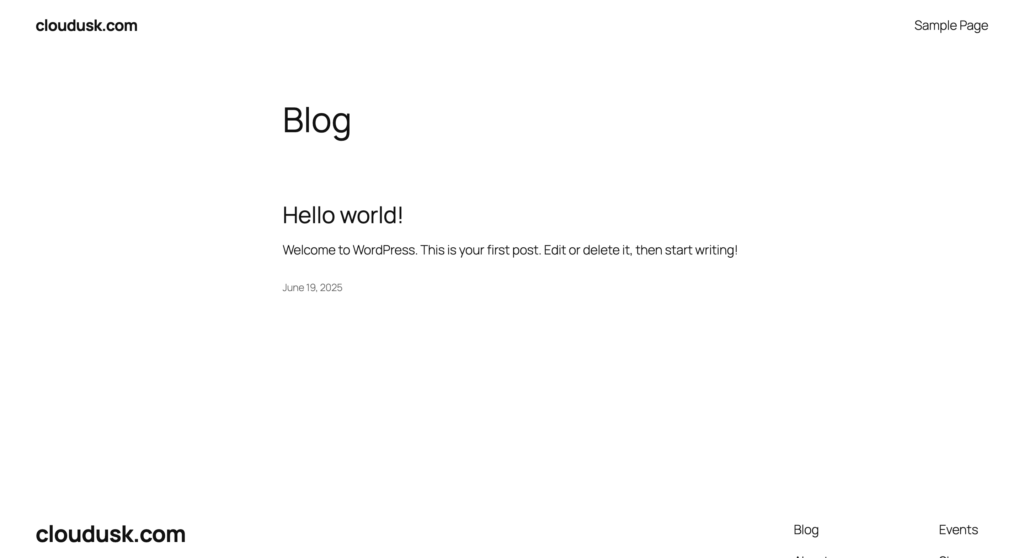
Whenever you launch a site on Cloudusk, a vanity URL is it automatically generated on clouduskapps.com for the site. This URL reflects the site in its current form. Make sure all the changes are there. For now, we are making a vanilla new WordPress installation go live. So! here is how the website looks.
After making sure, the site is in expected form.
- Click on the site name in the dashboard page.
- You will be take to Website’s page which houses all the settings related to individual site. Go to the dns settings section.
- Press the “Create Name Servers” button.

You will have to wait some time while Cloudusk’s backend perform actions to add your site to Cloudflare’s DNS. Once it is setup correctly , a toast will appear with success message in the top right corner. If something goes wrong, toast will display the message and you can contact us with that error message.

The toast message will be displayed for some seconds and will reload the page eventually. Now, you name server records displayed which have to be updated at your domain registrant like NameCheap, GoDaddy, Porkbun and etc.

For this tutorial purpose, we are updating the NS records of cloudusk.space at NameCheap.

It will take some time to propagate these changes which can be checked at sites like WhatsMyDNS. Once the NS changes have been propagated, as a last step you have to press “Go Live” button in dashboard. This will add final changes to domain and your site will be live. That is all.


